How to Press Flowers in 5 Easy Steps
Pressing flowers is the process of drying and preserving plant material for use in books, decoration, and other crafts.
Flowers always make a beautiful gift for any friend, family member, and yourself! Unfortunately, flowers can die fast, leave a mess behind, and even dishearten the owner. They must be cared for and watered to stay vibrant.
Pressed flowers, on the other hand, last for a long time with virtually no effort. You can preserve flowers in various ways using a variety of pressing methods, saving them to share with someone you love or even decorate your home.
Crafters around the world are using pressed flowers to enhance shadow boxes, design books, and create new original items. Become inspired by the natural beauty around you and learn how to press flowers today!
Pick the Right Flowers
First things first, you want to know what flowers and plants you should pick that are best for pressing. The most common rule for picking flowers, as advised by a variety of experts, is to pick fresh, dry flowers. Your flowers should be free of any holes, marks, or blemishes.
When you go to pick your flowers, you should go around midday, after the sun has been able to dry the plants naturally. Wet flowers and plants can become moldy and deteriorate easily, making them terrible for pressing.
Keep an eye out for flowers that have recently bloomed or look fresh. The older the flower, the sooner it will lose its color. The flowers you pick should be bright and fresh, but not thick. Thick petals can take much longer to dry and may lose shape in the process. The best flowers for pressing are thin single layer flowers.
Bring a Ziplock bag with you when you go picking flowers, as you want to keep them dry and intact on your journey back home where you can prepare your materials for pressing.
Look for:
- Perfect flowers with no scar
- Dry flowers to avoid imperfections during pressing
- Freshly bloomed bright flowers to keep their bold color
- Single layered flowers
- Bring something to put your flowers in
Prepare Your Flowers
Now that you’ve picked your flowers, you can prepare them for the pressing process. Hopefully, you’ve picked flowers that are already somewhat dry and already mostly flat. If you have picked any plants that are round, you can cut them in half to make them easier to flatten. You will want to trim any loose leaves from the flower so that they do not get pressed into the petals.
It is up to you if you want to keep the stem with your flower; however, it is recommended to remove large stems that could hurt the pressing process. If you want to focus on saving the bloom, make sure it is dry and free of all stems.
Let your flowers sit and air dry away from the sun before pressing for the best results.
- Make sure your flower or plant is flat
- Remove leaves and stems, so they are not pressed into the bloom of the flower
- You can save the leaves and press them separately
- Air dry flowers before pressing
Pick Your Press
You have probably heard of pressing flowers in books to preserve them, but there really are a variety of ways to do this! Though the manual press is the most effective method, it also takes the longest amount of time to dry your flowers. Consider your options and pick the method that works best for you, your space, and your project.
Manual Press
The manual press is the best-known flower pressing method, which uses a book to create pressure and dry the plant material between absorbent paper. You will need a heavy, thick, preferable hardback book.
When picking your book, remember that you will be piling more weight on top of it and that the flower may leak moisture into other pages beyond your absorbing paper.
The best, easiest to find, most absorbing paper is a newspaper. It works better than parchment paper and costs way less than the professional pressing(blotting) paper. While other materials, like coffee filters, do work, they can compromise the integrity of your flower.
Some flower pressers recommend using paper towels, but using material that has divots and designs will leave those marks on your flowers. Use flat paper to keep your flowers in their original shape and texture.
- Line the inside of your book with 2-3 layers of newspaper on each side.
- Arrange your flowers face down.
- Arrange flowers exactly how you want them to look once dried.
- Find the perfect, dry spot for your book to sit undisturbed.
- Weigh down your book using other books and weights and let sit for one week.
- Exchange the lining paper for a new set.
- Let the flowers sit for another two weeks before checking again.
- If flowers are not dry, exchange the paper again and wait one week.
Microwave Press
If you don’t have the weeks to wait and want your pressed flowers now, consider the microwave press method. You will still need your absorbing paper-lined book, but it doesn’t need to be a very heavy book. Do make sure there is no metal in your books before you line them with paper and pop them in the microwave.
In order to keep the integrity of the flowers, you have to apply heat in short spurts. Otherwise, you could overcook and brown your carefully picked plant material.
- Inspect your book for any metal.
- Line the inside with newspaper (or parchment paper) and place your flowers.
- Set your microwave to LOW heat.
- Cook your closed book for 30 seconds.
- Remove the book and open a spot before your flowers.
- Let the book cool and check your flowers.
- Repeats steps 4-6 until your flowers are dry.
Iron Press
Using an iron is even faster and easier than using the microwave. You can see the flower as you are heating and control the heat directly. For this method, you will use parchment paper as it is best for maintaining the heat of the iron and protecting the flower.
- Arrange your flowers face down on parchment paper.
- Sandwich your flowers between another piece of parchment paper and place them in a book to flatten.
- While your flowers flatten, heat your iron to low heat.
- Take your parchment paper gently to the ironing board.
- Place your iron gently on your parchment-lined flower and heat for 15 seconds.
- Remove the iron and let flowers cool.
- Repeat step 5 until your flowers are dry.
If you use either method that uses heat, remember to be very careful not to overheat your flowers. Flowers will brown easily in these processes and will ruin your end product.
Press and Preserve Your Flowers
You’ve picked your method of pressing and are ready to begin the process! When laying out your flowers for pressing, think about what you are going to do with them. You can compile your materials to create stunning images or separate each of your flowers to be used in another project.
Remember to always handle your flowers with care, before, during, and after pressing. The flowers are very delicate, and their color can fade quickly. You will want to keep your pressed flowers out of the sun to preserve their colors.
Share Your Flowers
You have created beautiful pressed flowers! They are almost paper-like and ready to be shared and displayed. There are a variety of crafts you can create or design with your new natural material, from decorating a phone case to building a crown, the possibilities are nearly endless. It is completely up to you what to do next!
The most popular way to display and share pressed flowers is by framing them. It is very easy and simple to make your flowers into works of art. You can use any paper you like as a background, though decorative paper that compliments your flowers would be best.
- Find the frame you want.
- Measure your desired background paper to fit the frame.
- Lay your pressed flowers in the design you want, try a variety of layouts.
- Using tweezers and toothpicks, gently apply glue to your flowers before applying to the paper.
- Let your craft dry overnight in a dry place before placing it in the frame.
In Summary
Just like that! You have transformed flowers into a beautiful piece of art that will stay for much longer than a bouquet. Pressing flowers is an everlasting, stress-free hobby that allows you to create without any pressure— except for on the flowers. You, too, can take nature and create unique gifts for the ones you love, or yourself!
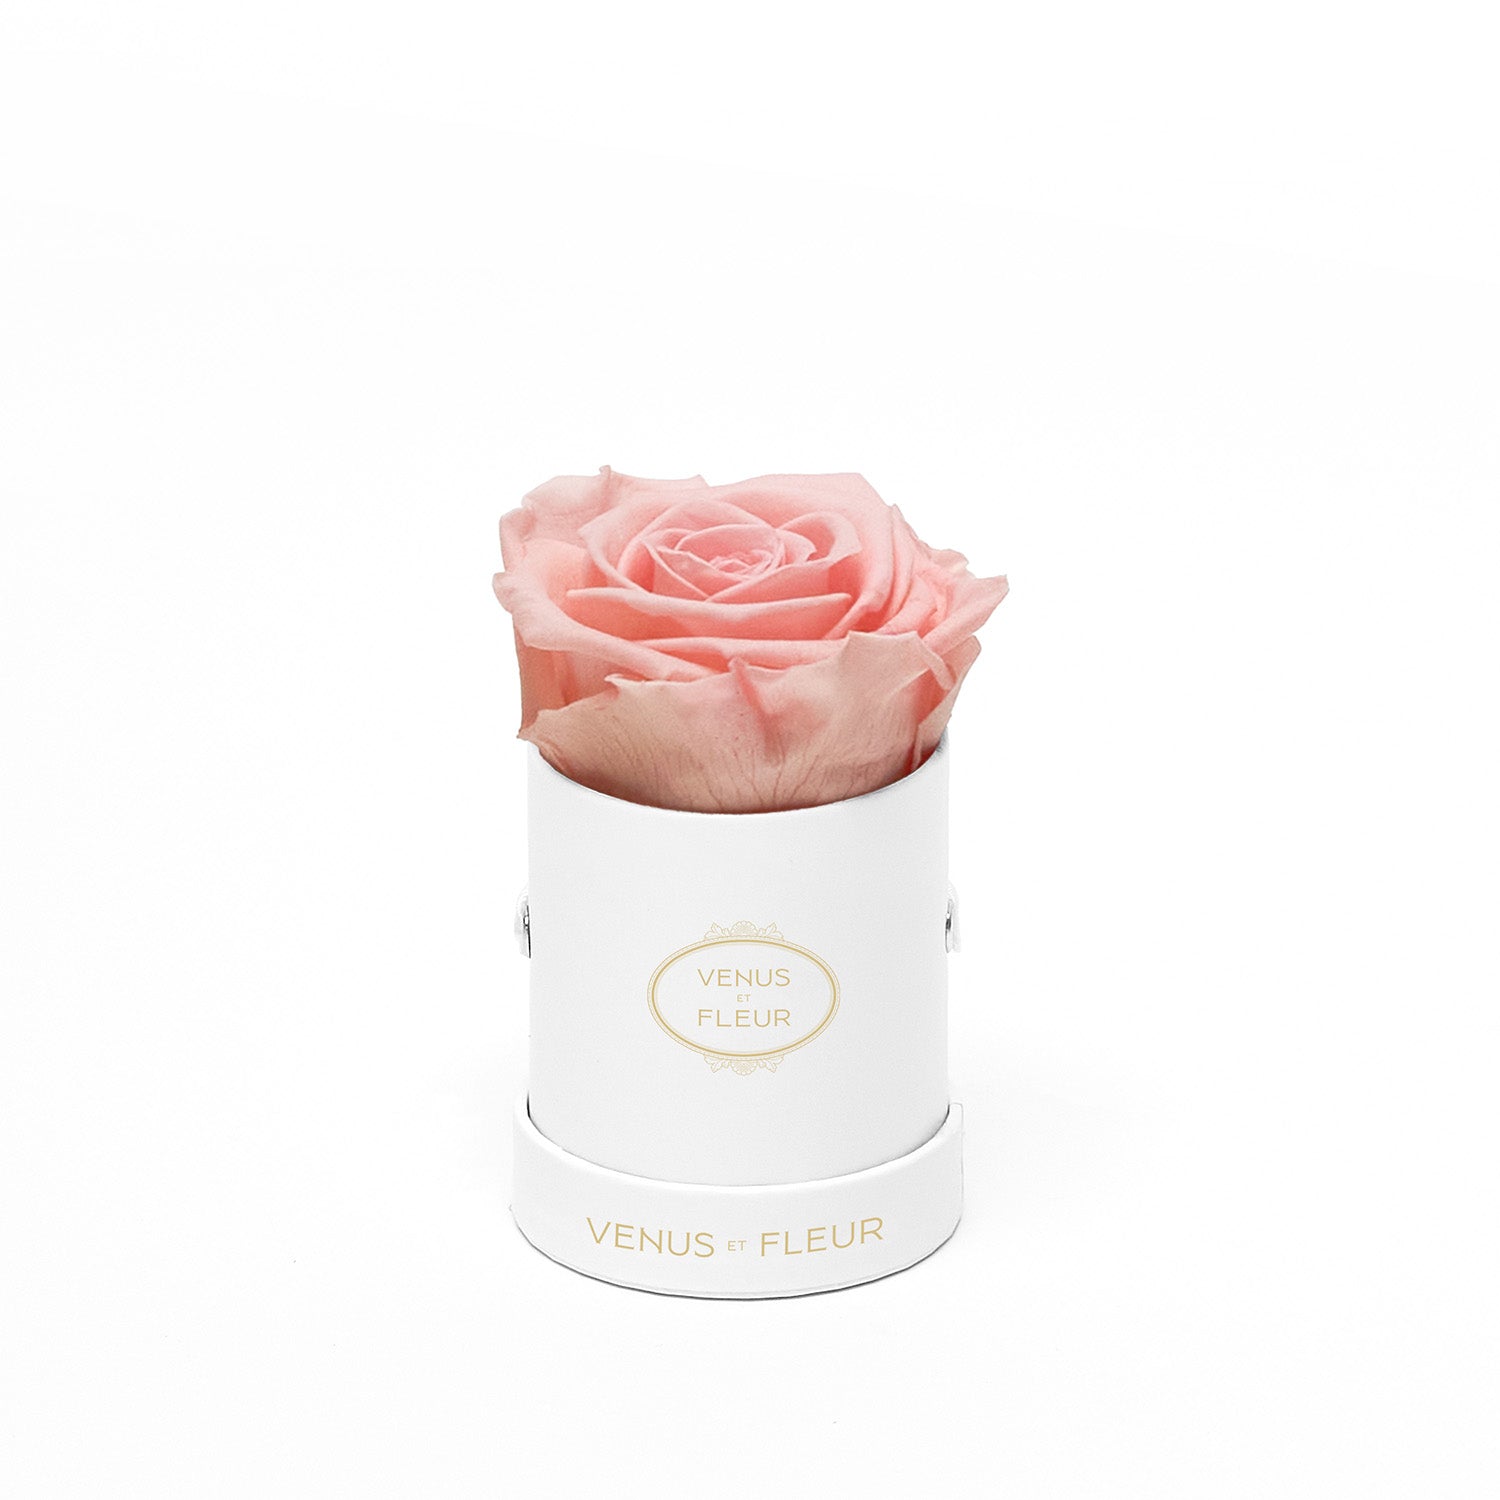
If you don’t want to go through all the effort of drying your own flowers, or you don’t have any particularly memorable flowers that you want to save, look no further than Venus ET Fleur®’s Eternity® Roses collection.
Venus ET Fleur® creates beautiful natural arrangements that are art in and of themselves. Browse our special collections of real roses delicately cultivated from our very own flower farm in Ecuador. From luxurious Large Round arrangements to an elegant single rose, we deliver captivating natural beauty perfect for any occasion.
Sources
- NYBG
