


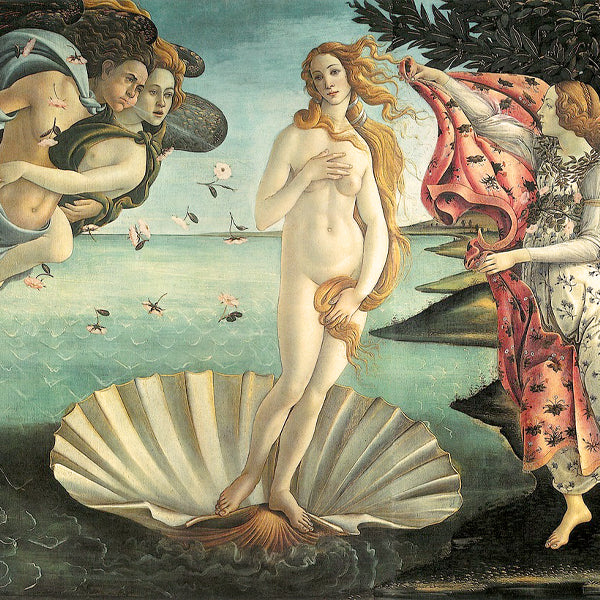


Roses are red, violets are blue… but what if roses could be blue, too? That question is easily answered by the fact that they CAN be!
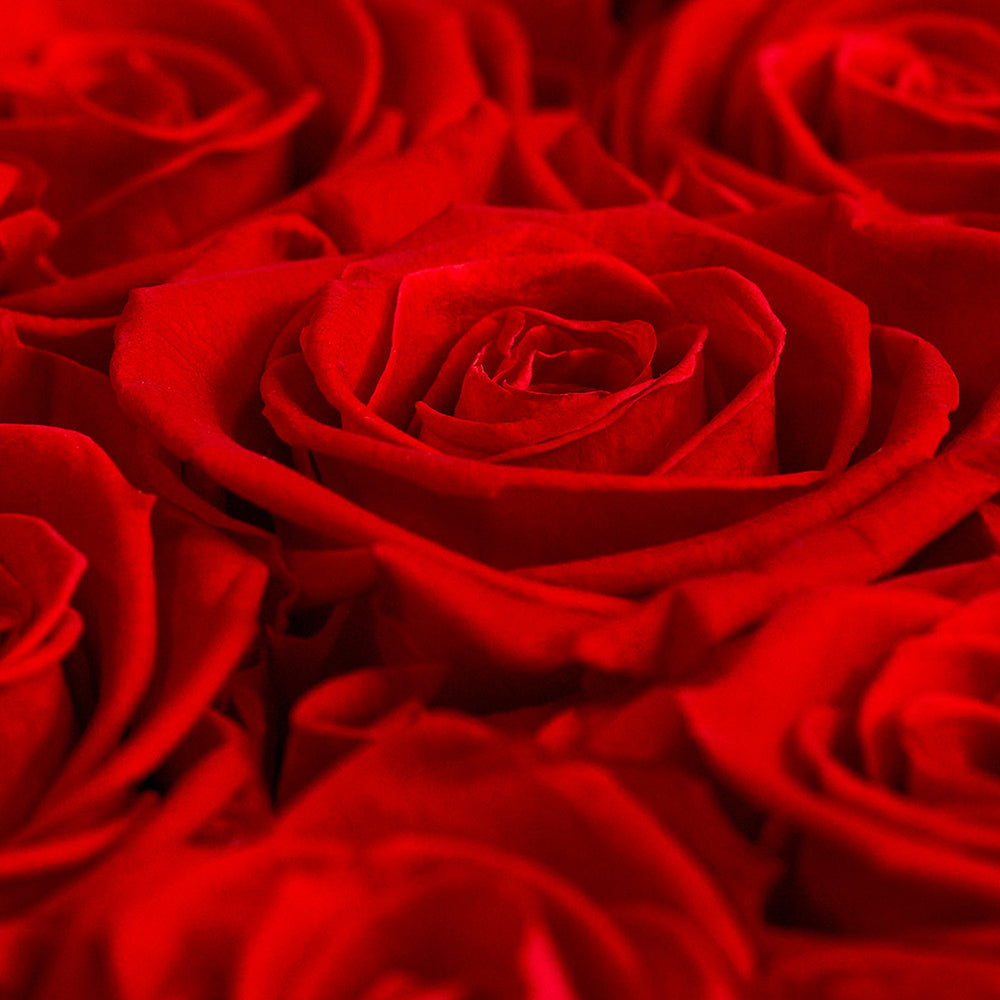
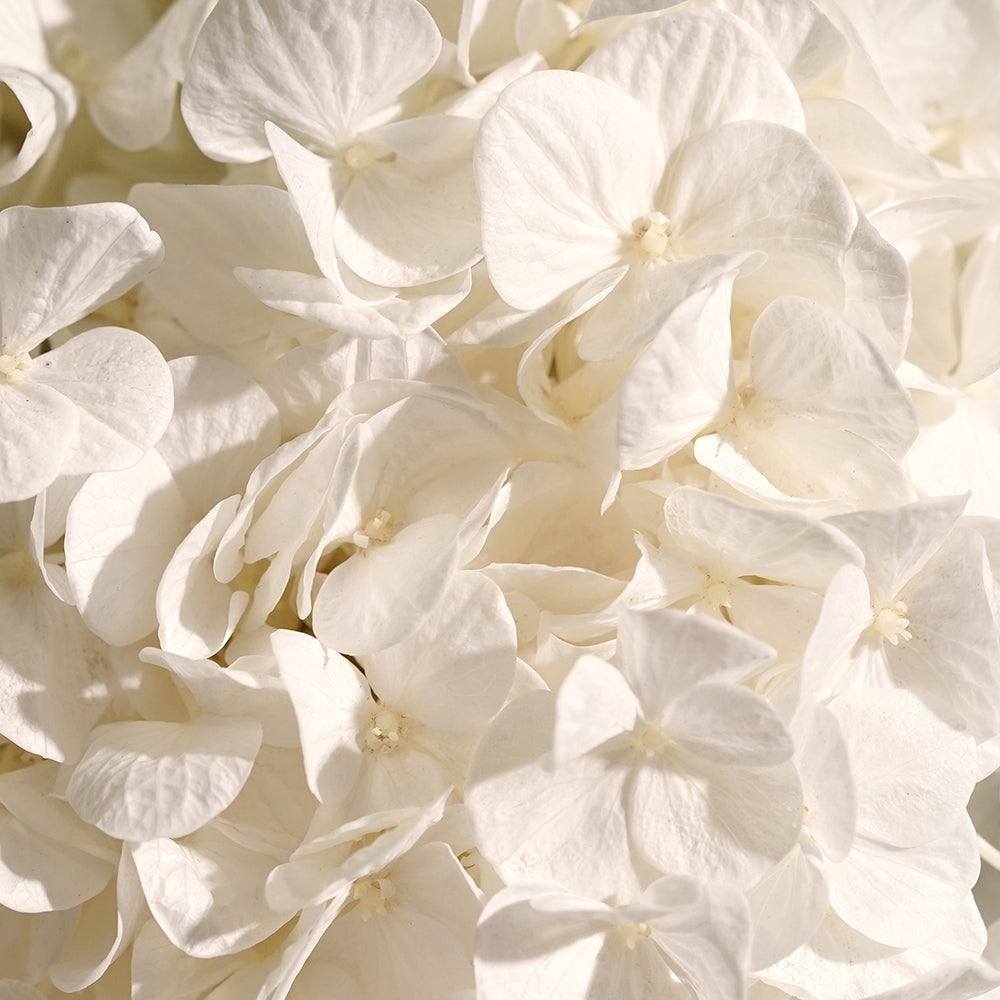
Natural roses come in shades of red, white, yellow, pink, purple, and orange. You may be wondering, then, how it is possible you have seen roses of all shades of the color wheel, from blue to black to green. The answer: dye.
Thanks to the process of dyeing (not dying, mind you), the color of your roses is only limited by your own imagination and color preferences.
And while we at Venus ET Fleur® are happy and proud to provide all sorts of vibrantly-colored flora for you whenever you would like, sometimes it is nice knowing that you can achieve a similar effect for yourself.
Let us help guide you in the steps of how to dye your favorite roses, and from there, how to keep them looking fresh and fabulous. Keep reading to find out more.
Some of you may be wondering what the point of dyeing roses in the first place is. Natural roses are, of course, already quite lovely and elegant just as they are. But if you could have the opportunity to safely and simply turn an already pretty rose into a stunning one in one of your favorite colors, wouldn’t you want to try it?
We are giving you the opportunity to do so by walking you through how to dye roses, and hopefully, through giving it a go, you can decide once and for all how you feel about this methodology of achieving the exact kind of rose look you want.
Some popular reasons why people turn to dyed roses include:
Perhaps now you are sold on the “why” you should try buying or creating dyed roses, so now you are wondering about the actual “how” concerning the process of making them.
Below, we will walk you through the rose types we recommend using, which tend to work best for dyeing, what you will need to dye them, the steps you should take to get the look you want, and how to preserve the delightful dyed roses you are left with.
We have mentioned the natural colors that roses come in, and perhaps you can guess from them which single rose type is the most suitable for dyeing. Indeed, it is the white rose that stands alone as the type we recommend most for your dyeing adventures.
Much like with paint, the white color can easily blend with any other one you throw its way, making it both easier and much more likely to end up with the exact hue you want by the end of the process.
We recommend using our signature Eternity® Roses to get the most out of your dyeing experience. These are Real Roses That Last a Year ®, and when given the correct tender loving care, they will retain their original opulence and light, pleasant aroma throughout this whole time.
Eternity Roses are real, high-quality flowers that are cultivated in Ecuador and then shipped over to our Venus ET Fleur facilities in New York and Los Angeles.
While our focus here is to help you learn everything you need to know about how to dye your own roses from home, we would also like to help you be as informed as possible by presenting multiple different popular methods for dyeing roses.
To dye roses from home, you will need:
Regarding the optional items, your use of or need for them depends on the roses you have as well as what you plan on doing with them. For example, if your rose has a long stem, you can use the razor knife to trim the stems at an angle so they each end up being about 12” long.
Additionally, if you are very ambitious and want to create rainbow or multi-colored roses, you will want to use the knife to slice them into two to four thin (but still strong) sections.
Whenever you cut with a sharp tool like a razor knife, you will want to be sure to do this atop a thick and sturdy surface (this is where your cardboard or rotary mat comes in) to avoid cutting or scraping any of your furniture.
If you are trying this DIY method with more roses than you have cups, you can use the tape to fasten multiple roses together by their stems to ensure their stability as well as equal coloring for both.
You can make your at-home dyed roses last and look beautiful by making the commitment to take good care of them. Make sure to keep your colorful roses out of direct sunlight, as the rays can actually end up absorbing the light and zapping some of your hard-earned hues out.
It helps to keep dyed roses in a nice vase and room temperature water in order to further preserve and promote the good health of your roses for as long as possible. We hope that you are able to make your gorgeous roses last and that you enjoy the dyeing process enough to try it again and again. Best of luck!
Sources:
How Are Flowers Colored Artificially? | SF Gate
How To Dye Roses At Home, Easy Peasy DIY With Food Coloring | Easy Peasy Creative Ideas


