


The gorgeous gift of flowers symbolizes passion, pride, unending love, and so much more. Through preservation, these tender feelings can be kept fresh for years to come.
The preservation of roses is a beautiful and long-practiced art form that anyone can accomplish given the proper tools and instructions. Since this June marks the beginning of National Rose Month, we at Venus ET Fleur® have decided to pen this helpful guide, in which we will be discussing different methods of preserving flowers and some of our top tips to help you nail the process!
Not only do preserved flowers make for charming decor, but they also, at their best, preserve those feelings associated with the original gift and joy at the thought of the giver. If you receive an arrangement of flowers for any special occasion, it’s only natural to want to cherish them for longer than their natural lifespan.
If you’ve come to us searching for the most effective and convenient way to preserve those gorgeous blooms for as long as possible, know that you are not alone! Over the years, a wide variety of preservation methods have been developed and perfected. As far as home preservation, we strongly favor the use of an air-dry followed by molding them in epoxy resin. In the past, we’ve detailed a variety of other methods that can be fun and fruitful craft activities.
It’s important to start out with the proper tools before you begin the journey of preserving your rose forever! Before you buy epoxy resin, you’ll want to have a proper mold for your flower(s). There are a variety of molds available to choose from, including cooking molds, jewelry molds, or any other flexible casting. The firm plastic molds will work for preserving a rose as well. Best of all is one that has some flexibility to it.
More important even than the mold is having the proper tools and space to dry your roses. You may want to skip this first part and start molding your roses right away, but we strongly urge you to wait! A fresh rose will go brown and lose its color in the molding process, whereas a properly dried rose will maintain both shape and color.
So without any further ado, let’s get to it:
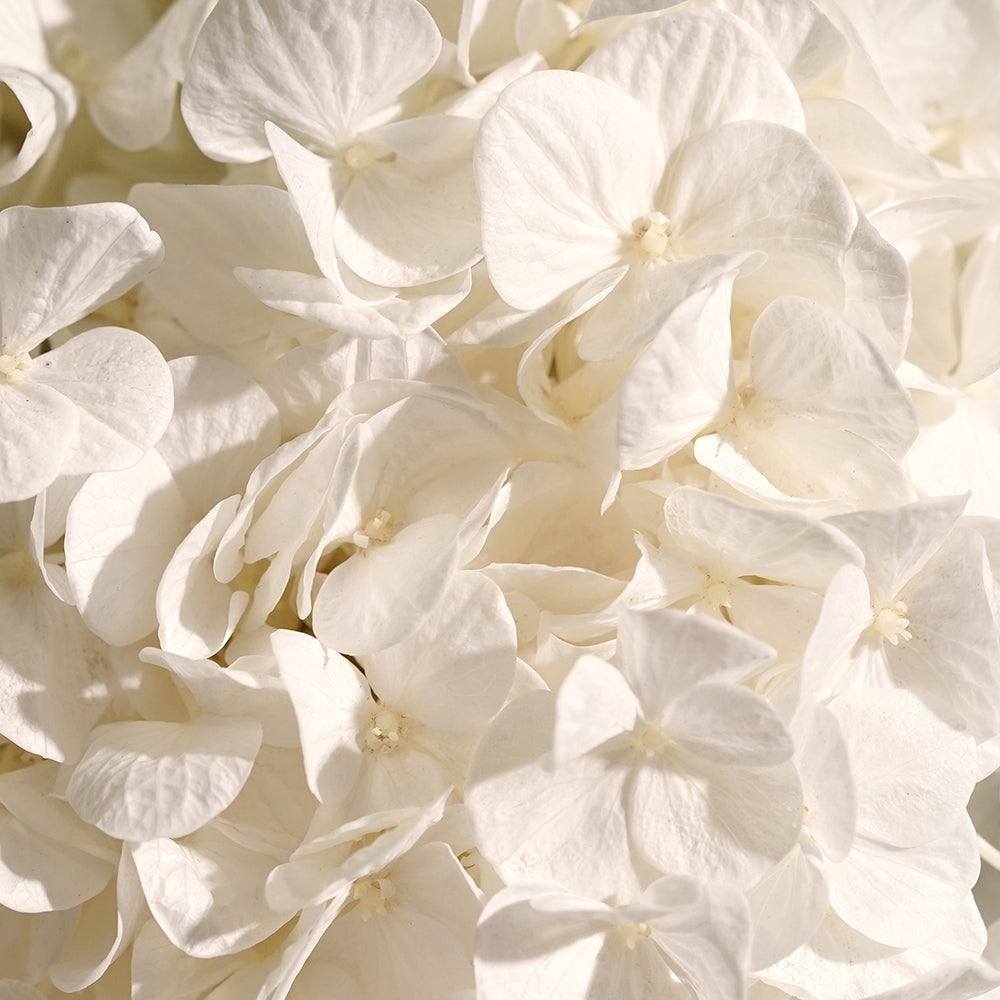
Air drying is far and away the most popular method of drying roses, largely because it’s so simple. It may take a few weeks, but air drying is the most foolproof and most frequently-practiced method for preserving flowers of any kind.
Here are the four essential steps to achieving the perfect air-dried bouquet:
The roses should be in a dry place free from moisture to avoid any chance of growing mold. Again, it is imperative that you keep your drying roses away from direct sunlight, or else they will begin to fade in color. Within 2-3 weeks, you should be enjoying fully dried-out roses to decorate with as you please.
Now that we’re working with a perfectly dried-out rose comes the slightly more rigorous work of preserving that rose in resin. Depending on the type of resin you bought, there may be different instructions, so be sure to read them carefully. Precise measurements can make all the difference between a perfectly-preserved rose and, well, disaster.
Use a flat working surface for the best possible results and to avoid unwanted bubbles or blemishes in the final result. Know that epoxy resin is very difficult to clean, so protect your workspace— and yourself— before you get started. Rubber gloves are essential, and we recommend wearing clothes you aren’t especially attached to. Once everything is in place, we can get to work.
Take the time to ensure your mold is spotless and clean. You don’t want to preserve any bugs or crumbs alongside that precious rose. Keep the mold as dry as possible, as excess water can actually corrupt the resin.
Use a pair of shears or kitchen scissors to trim your rose, so it fits perfectly within the mold. Most rose molds are of just the bloom, but there’s nothing wrong with keeping the stem in there as long as it fits (make sure it doesn’t touch any of the edges). You want to avoid overcrowding the interior of the mold.
First, note how much resin you will need to fill your mold. If your mold did not come with its volume size, use water to fill the mold, and then transfer the water to a measuring cup to assess the volume, then match that with your resin. Have your space covered with paper towels or newspaper to protect from possibly permanent damage if any of the resin ends up spilling.
Following the instructions from your resin, measure and add the catalyst (or hardener) and mix it thoroughly with the resin using a disposable stirring stick (a popsicle stick, wooden chopstick, anything like that). Mix the resin thoroughly, so it achieves a uniform consistency—this will allow it to set properly.
In the mold, pour your first layer of resin. Place your rose or roses in the way you’d like them to appear once molded. Carefully set each bloom or flower in the mold by securing it in the resin.
Next, pour the resin over the blooms and complete filing your mold. Most molds you will close first, then fill with the rest of your resin mixture. It will take hours for the resin to completely harden.
In the first half-hour of setting, as the resin turns into a gel, you’ll be able to use a small implement to adjust the placement of your rose if it’s not looking quite the way you want it to. The bloom will naturally rise during the process, but if you check it as it sets, you can lightly push the rose back in place. Be careful when adjusting not to damage the bloom.
All that’s left to do is wait. Depending on the notes from your resin, it can take up to 4 hours for the mold to set.
Before you remove the mold, check to make sure it isn’t sticky or moist at all. We advise you to set some padding down to protect your project, then remove it from the mold. And voilà—you now have a rose that will last forever!
You can display this newly-immortal rose anywhere in your home, on your desk at work, or give it as a gift. The encased rose will last as long as you can protect it. Note that the resin molding can crack and be scratched, so be mindful of placing it anywhere it might get damaged.
We hope this guide has been helpful to you! Preserving roses and flowers of all kinds is a fun and rewarding craft that can produce sensational pieces of floral art. We hope it brings you something beautiful.
It is worth mentioning here, however, that your molded rose will not fully retain its natural luster nor its delicate fragrance. We at Venus ET Fleur are experts when it comes to preserving roses in their natural state for as long as possible, and the best compromise between long-term preservation and the sensory virtue of fresh roses that we know of is found in our revolutionary Eternity® Roses.
Eternity Roses represent the cutting edge of extending the natural life of roses—and are made from 100-percent real roses sourced from our farm in Ecuador. From there, each rose is treated with a formula made from non-toxic and non-allergenic wax, as well as natural oils. As a result of this dynamic and innovative process, our Eternity Roses will last a year or more with proper care, allowing you to enjoy their beauty, month after month. We encourage you to take a look at our many handcrafted arrangements, which come in a wide variety of stunning colors.
We hope you’ve found something in this article to enjoy, and we look forward to seeing the wonderful resin blooms you craft with these wonderful techniques. Tag us on Instagram @venusetfleur with your rose art!
Sources:
National Rose Month - June | National Day Calendar
How to Dry Flowers - We Tested 5 Different Methods to Find the Best! | Little Yellow Wheelbarrow


