


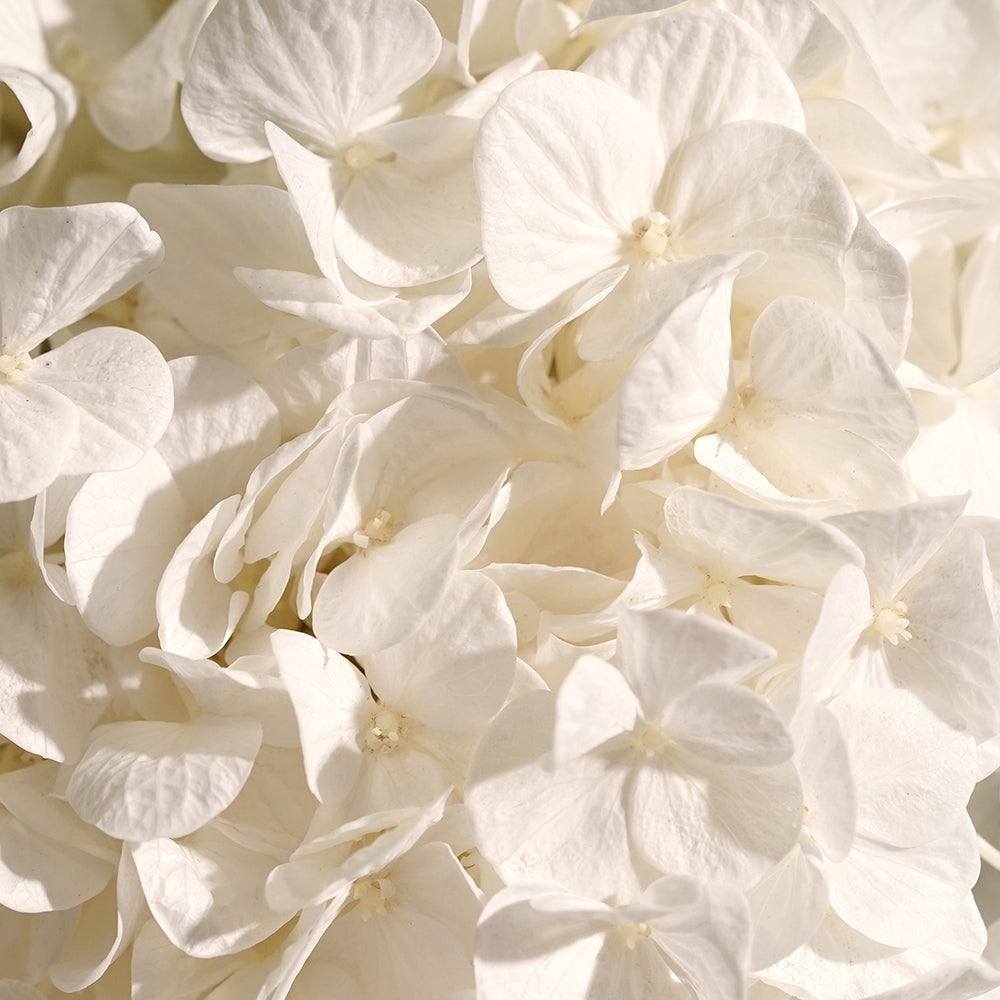


Roses have always been a statement of love. Famously given on Valentine’s Day or for an anniversary, the rose is an undeniable symbol for desire and admiration. Unfortunately, these beautiful symbols will naturally deteriorate over time and wither away.
What if your rose could last as long as your love? There are a variety of ways to preserve a rose, but not all will last forever. You can dry them, but they end up being very fragile and will fade over time. If you preserve a rose in resin, however, you will be able to have an immortal flower.
Using this method, you can encase a rose in a clear epoxy resin that will preserve the bloom perfectly and last as long as you stand to keep it. If you take the time to dry the rose beforehand, the colors will last just as long. Hang on to the memory held within your rose forever with this preserving method.
You’re going to need to have the proper tools to preserve your rose forever. Before you go buying your epoxy resin, you need to have a mold for your bloom. There are a variety of molds you can choose from, including cooking molds, jewelry molds, or any other flexible casting. The firm plastic molds will work for preserving a rose as well, but flexible molds that are malleable are best.
Even more important than the mold, you will need to have the tools and space to dry your roses. You may want to skip this first part and start molding your roses right away, but I urge you to wait! Fresh flowers will brown and lose their color in the molding process, but a dry rose will keep its shape and color.
Finally, make sure you have a flat space for working and lots of patience.
Things you’ll need to make a rose last forever:
You can preserve the rose by drying it in a variety of ways. You may already be familiar with flower pressing, the method of flattening a flower and drying it until the bloom is thin and paper-like, but this won’t preserve the dimensional shape of the bloom. The best way to dry your rose to preserve its shape is to let them air dry.
Air drying is the most popular method of drying roses because it is so simple and effective. You can use other methods that speed up the process, but you run the risk of damaging the rose while trying to dry it. There are materials like silica gel and sand that are used to speed up the drying of the petals. While they do keep the shape of the flower, it can be extremely difficult to get all the grains out of the rose. It may take a few weeks, but air drying is the foolproof method practiced most frequently.
Using your scissors, remove the excess leaves from the stem, and clean your rose of any dead or blemished petals. Any petals that are starting to wilt will only get in the way of strong petals.
Prepare the string you are going to use to hang your rose or roses. The string should be long enough to tie to the stem and hang properly in your desired space.
Look for a notch in the stem or minor split so you can anchor the string to the rose. Do not make your knot close to the bloom. Make sure your knot is tight enough because the last thing you want is your rose to fall on its face!
Tack up your string in a safe place away from sunlight. Your rose will hang upside down, which will pull the rosebud to be straight with the stem and make them firm and full of color.
The roses should be in a dry place free from moisture to avoid any chance of growing mold. Do not put them in direct sunlight! This will force your roses to fade in color.
You will have to wait about 2-3 weeks for the roses to dry completely.
Now that you have perfectly dry roses, you can preserve them in all their beauty. Depending on the type of resin you purchased, there may be different instructions, so remember to read them carefully! Measure each ingredient precisely to avoid any imperfections in your mold or process.
Use a flat working surface to achieve the best results and avoid unwanted bubbles or blemishes in the final result. Remember that epoxy resin is very difficult to clean, so protect your workspace— and yourself— before you get started. Wear clothes you don’t care about, pull your hair back, and get your gloves on!
Make sure your mold is spotless and clean! You don’t want to preserve a crumb with your rose. Keep the mold dry and free from moisture, so the resin isn’t corrupted by excess water.
Now that your rose is dry, you can trim it up for your mold. Most rose molds are of just the bloom, but you can keep the stem if you like! If you keep the stem, it will need to fit inside the mold and not touch any of the edges. Try not to overcrowd the mold.
First, note how much resin you will need to fill your mold. If your mold did not come with its volume size, use water to fill the mold, and then transfer the water to your measuring cup to find how much resin you need to make. Have your space layered with paper towels or newspaper to protect it from the resin.
After you put on your gloves, use the disposable measuring cup and pour in enough raw resin to fill the mold. Following the instructions from your resin, measure and add the catalyst (or hardener) and mix it thoroughly with the resin using a popsicle stick or any other disposable stirring tool. Mix the resin thoroughly, as if you don’t, it won’t set properly.
You will want to start your process at your flat, undisturbed workspace where the mold will be setting later. In the mold, pour your first layer of resin. Place your rose or roses in the way you want them to be preserved in the resin. Set each bloom or flower in the mold by securing them in the resin. Be careful because once you set them, there is no picking them back up!
Next, pour the resin over the blooms and complete filing your mold. Most molds you will close first, then fill with the rest of your resin mixture. It will take hours for the resin to completely harden, longer in places with lots of moisture.
In the first half-hour of setting, as the resin turns into a gel, you can use your small tool to adjust your rose. The bloom will naturally rise during the process, but if you check it as it sets, you can lightly push the rose back in place. Be careful when adjusting not to damage the bloom.
Now you wait! Depending on the notes from your resin, it can take up to 4 hours for the mold to set.
Before you remove the mold, check to make sure it isn’t sticky or wet on the outside. Set down some padding to protect your project, and remove it from the mold. There you have it, a rose that will last forever.
You can display your new immortal rose anywhere in the house or on your desk at work. As you perfect your molding skills, you can add things like metal wire so that your pieces can be tied and hung outside - or anywhere!
The encased rose will last as long as you can protect it. The resin molding can crack and be scratched, so be mindful of its placement and usage.
You can make any flower last forever using this method. We receive special flowers in our lives, wedding bouquets, anniversary roses, and even funeral bouquets. You can save these flowers as mementos that will never wilt.
Take your roses beyond the bouquet, have a rose that will last forever in a beautiful clear casing.
If this seems like a lot of effort to you, try one of Venus ET Fleur®’s Eternity® Roses.
Venus ET Fleur® provides luxurious floral arrangements that last a year. To ensure long-lasting roses that provide aesthetic appeal for months on end, we use a proprietary solution and color pigmentation process to keep the freshness of the roses and then instill them with a wide array of lovely colors. Because our Eternity Roses last a year with proper care, you can give this gift knowing that they will be a constant reminder of your love for whoever admires them.
Link 1 - https://www.happyfamilyart.com/craft-tutorials/preserving-flowers-in-resin/
Link 2 - https://www.instructables.com/id/How-to-Dry-Roses-Perfectly/


